Deploy a Micronaut app to Google Cloud
Learn how to deploy a Micronaut application to Google App Engine Java Flexible Environment.
Authors: Sergio del Amo
Micronaut Version: 1.2.7
1 Micronaut Training
Micronaut Training - Developed and delivered by the folks who created and actively maintain the Micronaut framework!
2 Getting Started
In this guide, you are going to deploy a Micronaut application to Google App Engine Flexible Environment.
3 Costs
This guide uses paid services; you may need to enable Billing in Google Cloud to complete some steps in this guide.
4 What you will need
To complete this guide, you will need the following:
-
Some time on your hands
-
A decent text editor or IDE
-
JDK 1.8 or greater installed with
JAVA_HOMEconfigured appropriately
5 How to Complete
To get started do the following:
Download and unzip the source or Clone the Git repository:
git clone https://github.com/micronaut-guides/micronaut-gradle-google-cloud.gitThis Micronaut guides contain two folders:
-
initialInitial project. A simple Micronaut app as you may have created with Micronaut Command Line interface. -
completeA completed example. It is the result of working through the steps presented by the guide and applying those changes to the initial folder.
To complete the guide, go to the initial folder
cd initial
and follow the instructions in the next sections.
or you can go right to the completed example:
cd complete
Although you can go right to the completed example, in order to deploy the app you would need to complete several configuration steps in Google Cloud:
-
Signup for Cloud SDK and install Cloud SDK.
-
Initialize an App Engine application within the current Google Cloud project.
Checkout the guide steps for more details.
6 Cloud SDK
Signup for Google Cloud Platform and create a new project:
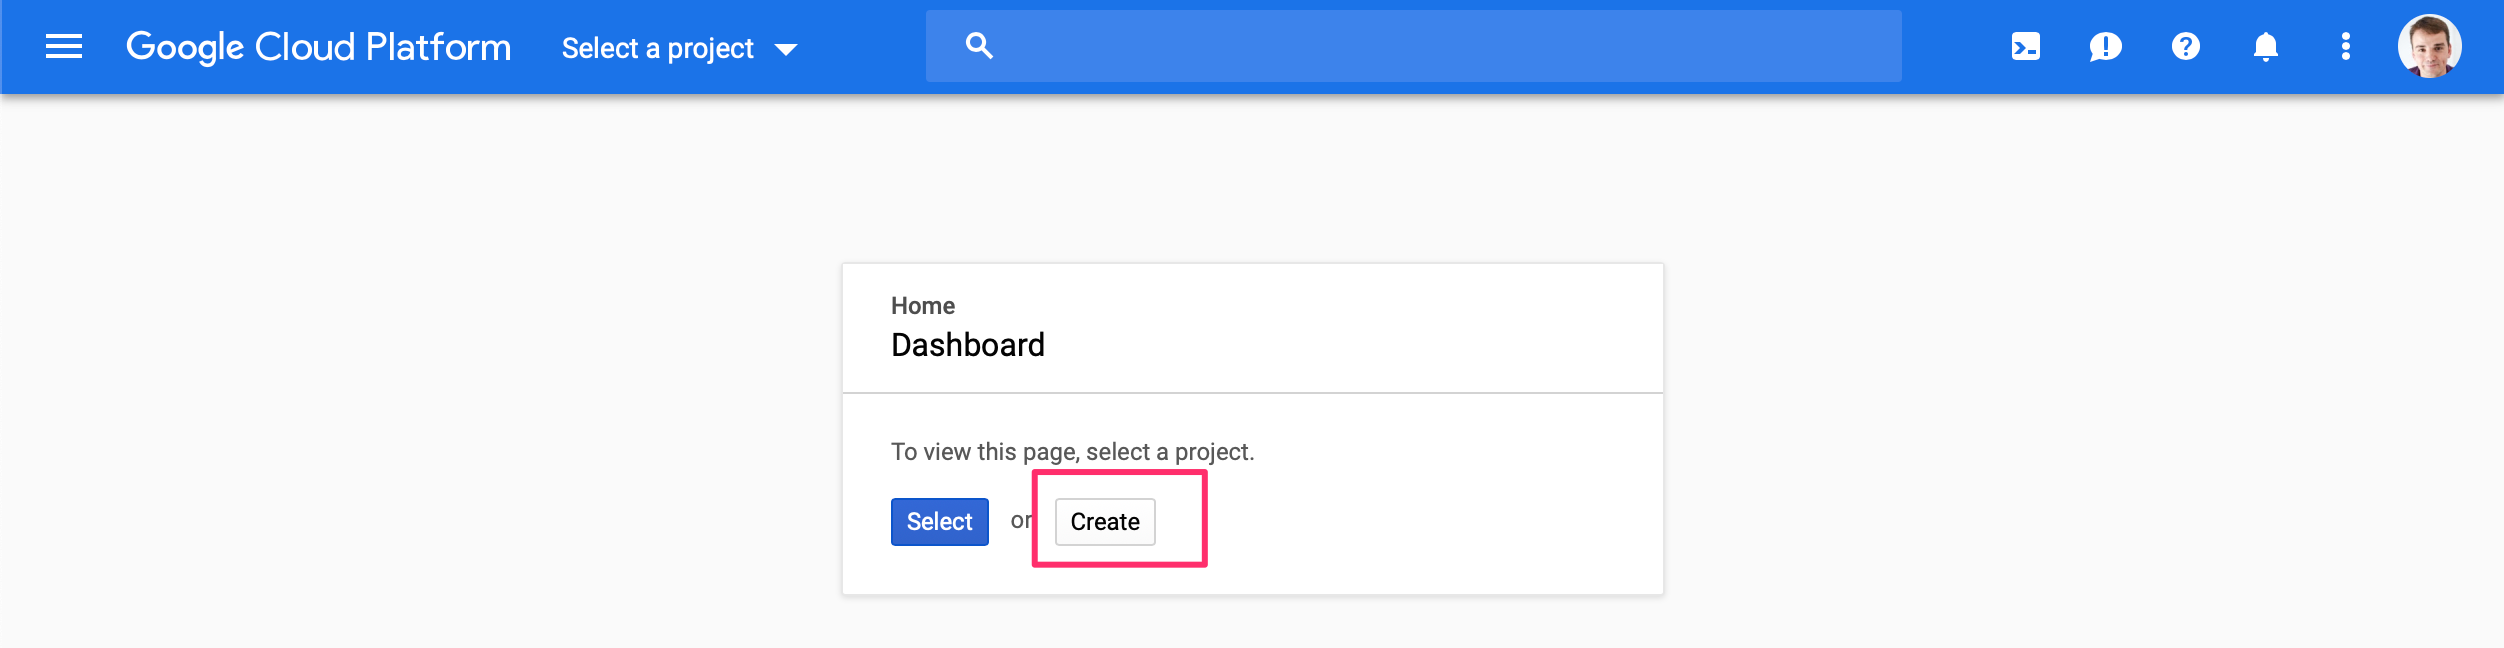
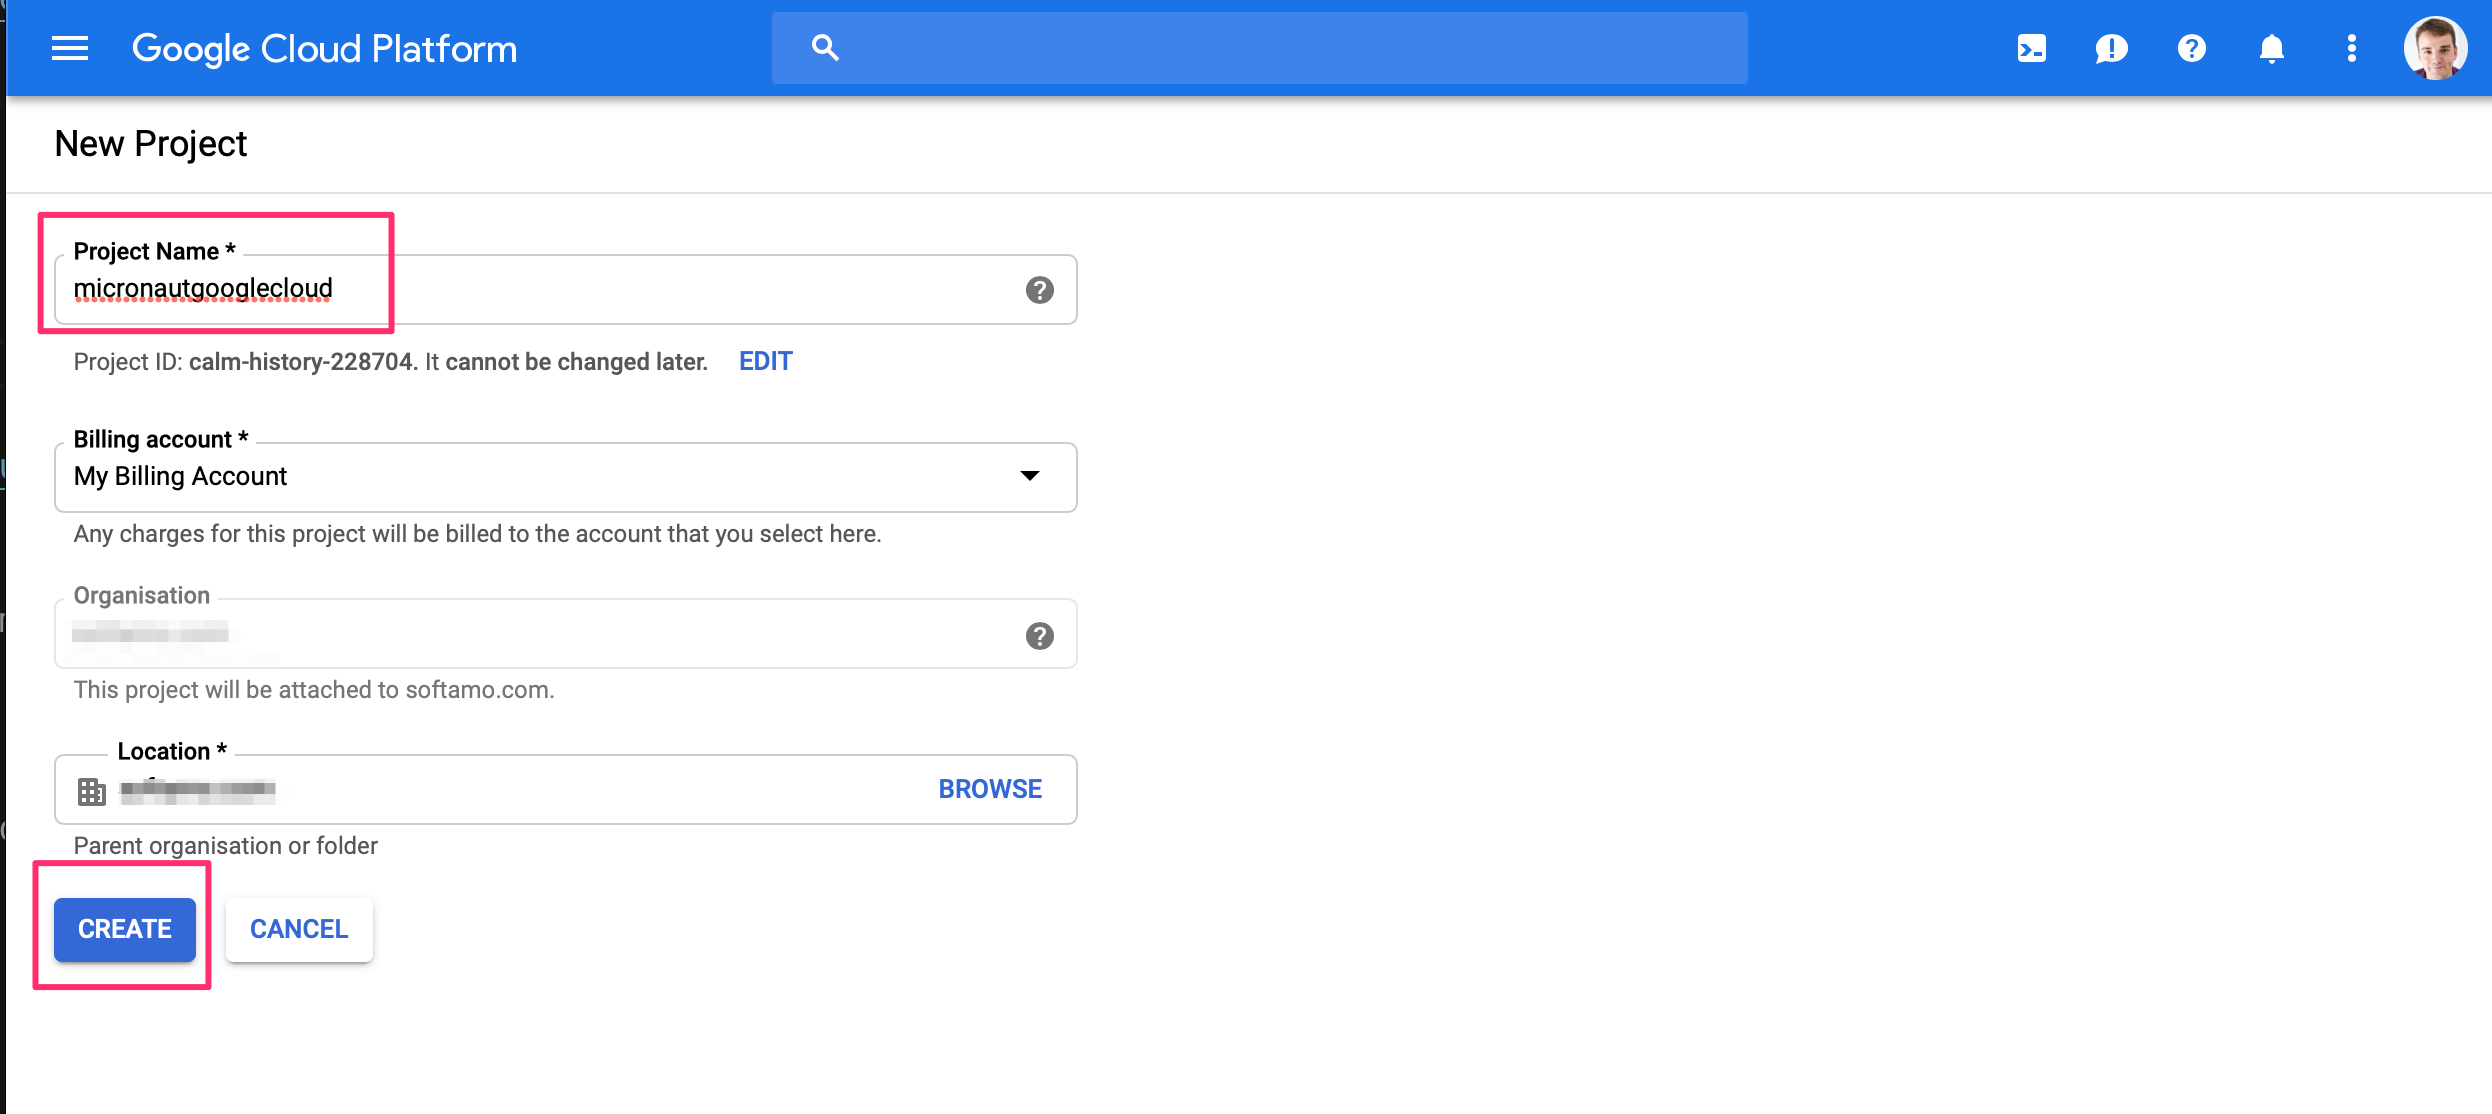
We named the project micronautgooglecloud
Install Cloud SDK for your operating system.
After you have installed the SDK, run the init command in your terminal:
$ gcloud init
It will prompt you to select the Google account and the project which you want to use.
7 Google App Engine
We are going to deploy the Micronaut application developed in this guide to the Google App Engine Flexible Environment
App Engine allows developers to focus on doing what they do best: writing code. Based on Google Compute Engine, the App Engine flexible environment automatically scales your app up and down while balancing the load. Microservices, authorization, SQL and NoSQL databases, traffic splitting, logging, versioning, security scanning, and content delivery networks are all supported natively.
Run the command:
gcloud app create
to initialize an App Engine application within the current Google Cloud project.
| You will need to choose the region where you want your App Engine Application located. |
7.1 Google App Engine Gradle Plugin
To deploy to App Engine, we are going to use the Google App Engine Gradle Plugin.
Add the plugin as a buildscript dependency:
buildscript {
    repositories {
        mavenCentral()
    }

    dependencies {
        classpath 'com.google.cloud.tools:appengine-gradle-plugin:2.2.0'
    }
}
Apply the plugin and specify a deployment version and the project ID. When you created the Project in the Google Cloud Dashboard you got the Project ID. Notice, I didn’t use dots on the version number.
apply plugin: 'com.google.cloud.tools.appengine'

version "0-2"
group "example.micronaut"

ext {
    appEngineProjectVersion = project.version
    appEngineProjectId = 'calm-history-228704'
}
Then configure the deployment properties:
appengine {
    stage.artifact = "${buildDir}/libs/${project.name}-${project.version}-all.jar"
    deploy {
        projectId = appEngineProjectId
        version = appEngineProjectVersion
    }
}
7.2 Application Deployment Configuration
To deploy to Google App Engine, we need to add the file src/main/appengine/app.yaml
We are going to configure the Java 8 runtime in the Flexible environment
The Java 8 runtime does not include any web-serving framework. The only requirement is that your app should listen and respond on port 8080. The sample code here shows how you can add your own framework, such as Spring Boot, to the Java 8 runtime.
It describes the application’s deployment configuration:
runtime: java
env: flex
8 Sample Controller
Create a controller which we can invoke once the app is deployed.
package example.micronaut;

import io.micronaut.http.MediaType;
import io.micronaut.http.annotation.Controller;
import io.micronaut.http.annotation.Get;
import io.micronaut.http.annotation.Produces;

@Controller("/")
public class HelloController {

    @Produces(MediaType.TEXT_PLAIN)
    @Get
    public String index() {
        return "Micronaut on App Engine";
    }
}
9 Deploying the app
To deploy the app to Google App Engine run:
$ ./gradlew appengineDeploy
Initial deployment may take a while. When finished, you will be able to access your app:
Deployed service [default] to [https://calm-history-228704.appspot.com]

You can stream logs from the command line by running:
  $ gcloud app logs tail -s default

To view your application in the web browser run:
  $ gcloud app browse

BUILD SUCCESSFUL in 7m 26s
13 actionable tasks: 11 executed, 2 up-to-date
$ curl https://calm-history-228704.appspot.com
Micronaut on App Engine
If you go to the Versions section in the App Engine administration panel, you will see the deployed app.
10 Logging
For the version which you would like to inspect, select Logs in the diagnose dropdown:
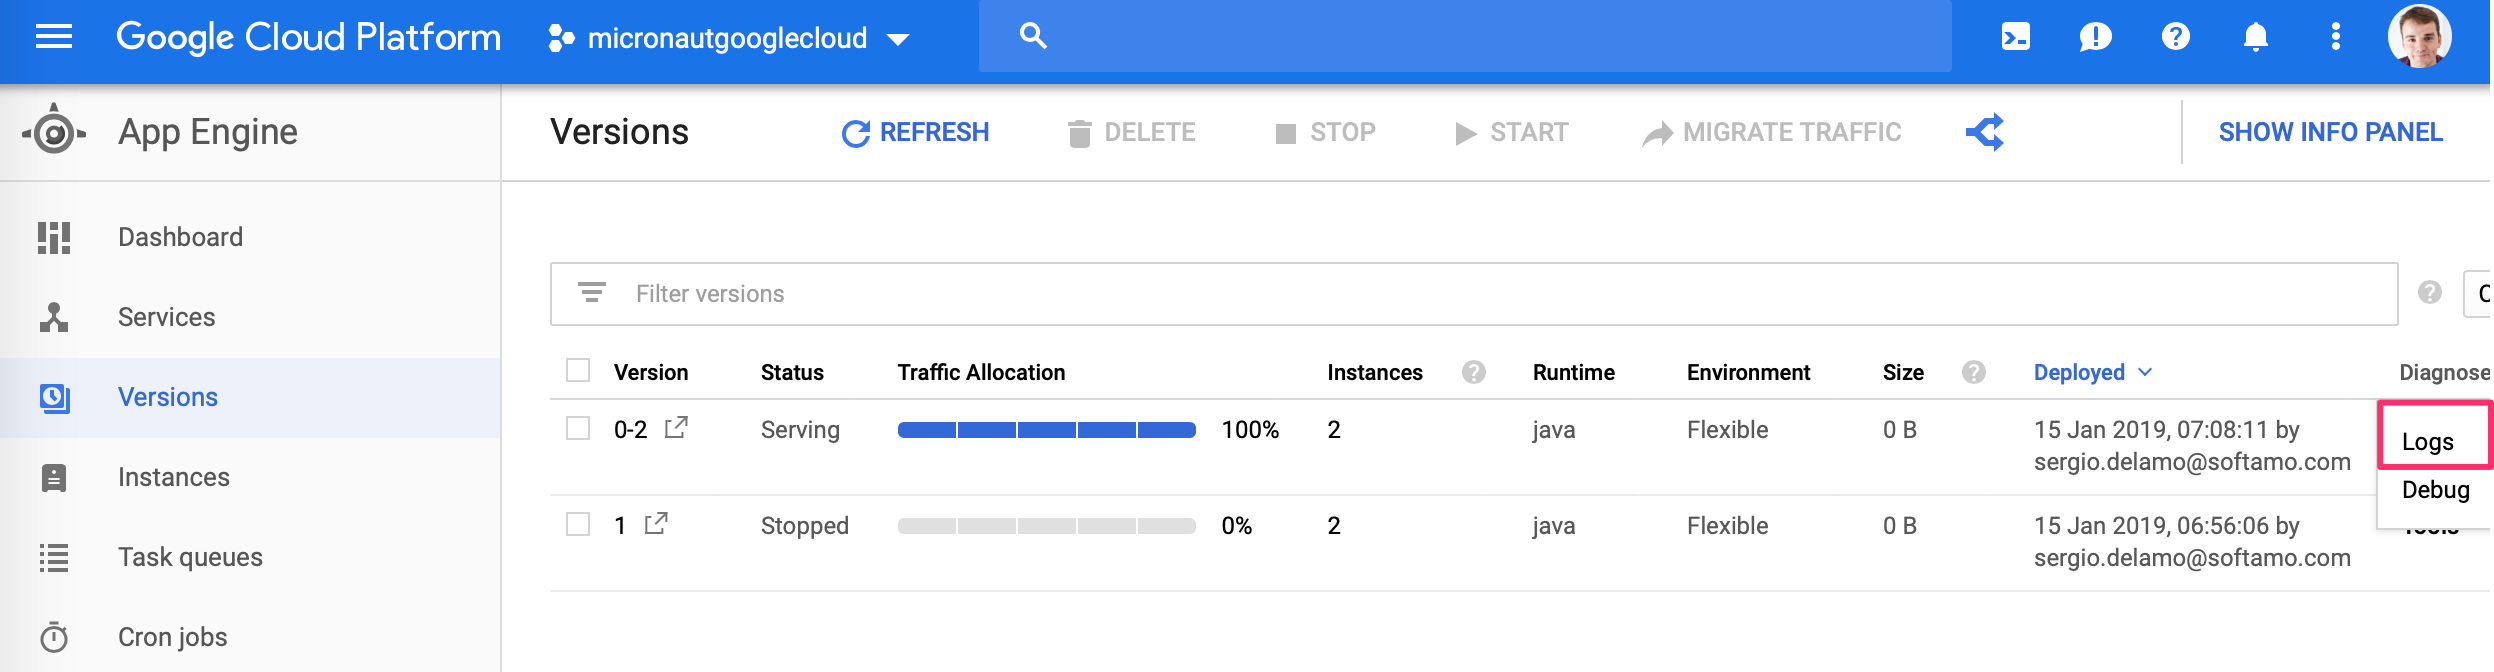
Application log messages written to stdout and stderr are automatically collected and can be viewed in the Logs Viewer.
Check Writing Application Logs documentation to read more about logs in the Flexible Environment.
11 Cleaning Up
After you’ve finished this guide, you can clean up the resources you created on Google Cloud Platform so you won’t be billed for them in the future. The following sections describe how to delete or turn off these resources.
Deleting the project
The easiest way to eliminate billing is to delete the project you created for the tutorial.
To delete the project:
| Deleting a project has the following consequences: |
-
If you used an existing project, you’ll also delete any other work you’ve done in the project.
-
You can’t reuse the project ID of a deleted project. If you created a custom project ID that you plan to use in the future, you should delete the resources inside the project instead. This ensures that URLs that use the project ID, such as an appspot.com URL, remain available.
-
If you are exploring multiple tutorials and quickstarts, reusing projects instead of deleting them prevents you from exceeding project quota limits.
In the Cloud Platform Console, go to the Projects page.
In the project list, select the project you want to delete and click Delete project. After selecting the checkbox next to the project name, click Delete project
In the dialog, type the project ID, and then click Shut down to delete the project.
Deleting or turning off specific resources
You can individually delete or turn off some of the resources that you created during the tutorial.
Deleting app versions
To delete an app version:
In the Cloud Platform Console, go to the App Engine Versions page.
Click the checkbox next to the non-default app version you want to delete.
| The only way you can delete the default version of your App Engine app is by deleting your project. However, you can stop the default version in the Cloud Platform Console. This action shuts down all instances associated with the version. You can restart these instances later if needed. |
In the App Engine standard environment, you can stop the default version only if your app has manual or basic scaling.
Click the Delete button at the top of the page to delete the app version.
12 Learn More
If you want to learn more about Google Cloud and Micronaut integration, checkout the codelab Deploy a Micronaut application containerized with Jib to Google Kubernetes Engine.